
What changed
OwnerRez setup is now handled by Action Ledger.
You no longer create an OwnerRez OAuth app or enter an OAuth Client ID, OAuth Client Secret, Webhook User, or Webhook Password during registration. Action Ledger supplies the connection configuration and sends you to OwnerRez to approve access.
Before you start, sign in to the OwnerRez account that can access every property you want to add. Keep a payment method available for the subscription step.
1. Select OwnerRez in Action Ledger
- 1
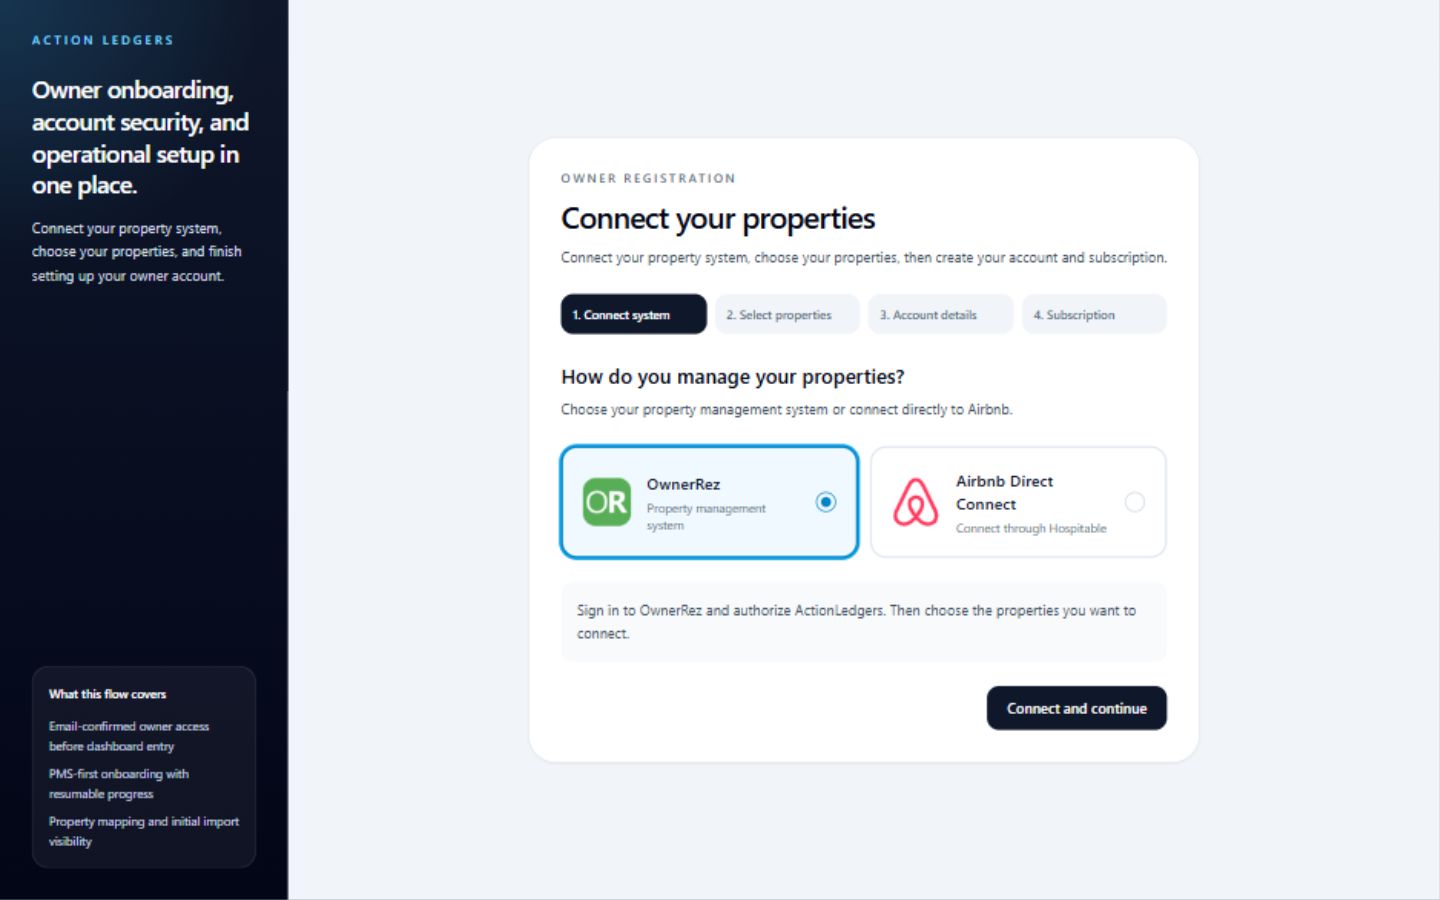
- 2Under How do you manage your properties?, select OwnerRez.
- 3Confirm the message says that you will sign in to OwnerRez and authorize ActionLedgers.
- 4Select Connect and continue. Action Ledger opens the secure OwnerRez-hosted sign-in or authorization page.
2. Sign in and authorize on OwnerRez
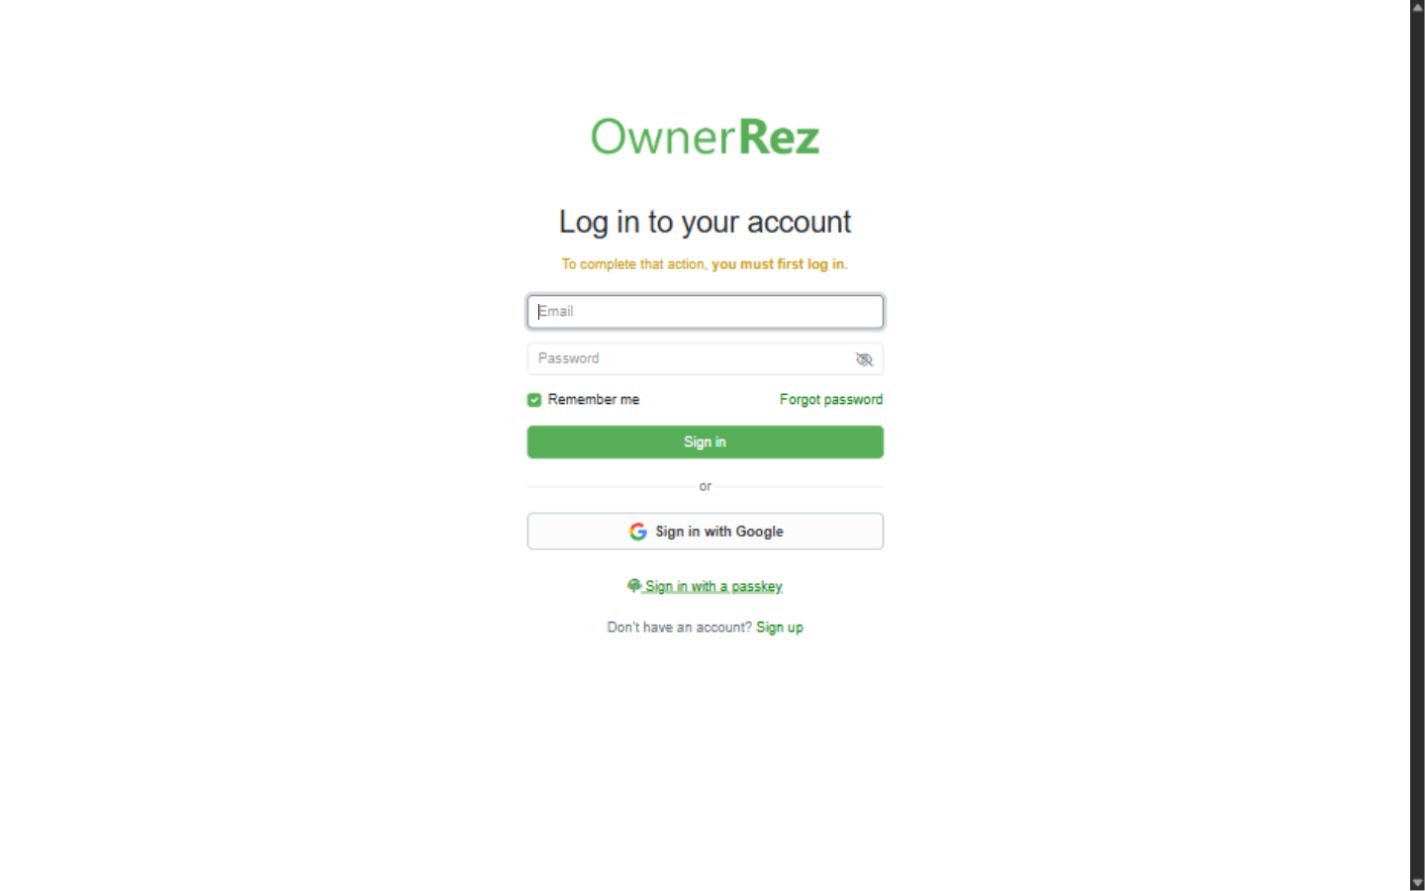
- 1If OwnerRez asks you to sign in, use your normal OwnerRez account credentials on the OwnerRez-hosted page. Your password is not entered in Action Ledger.
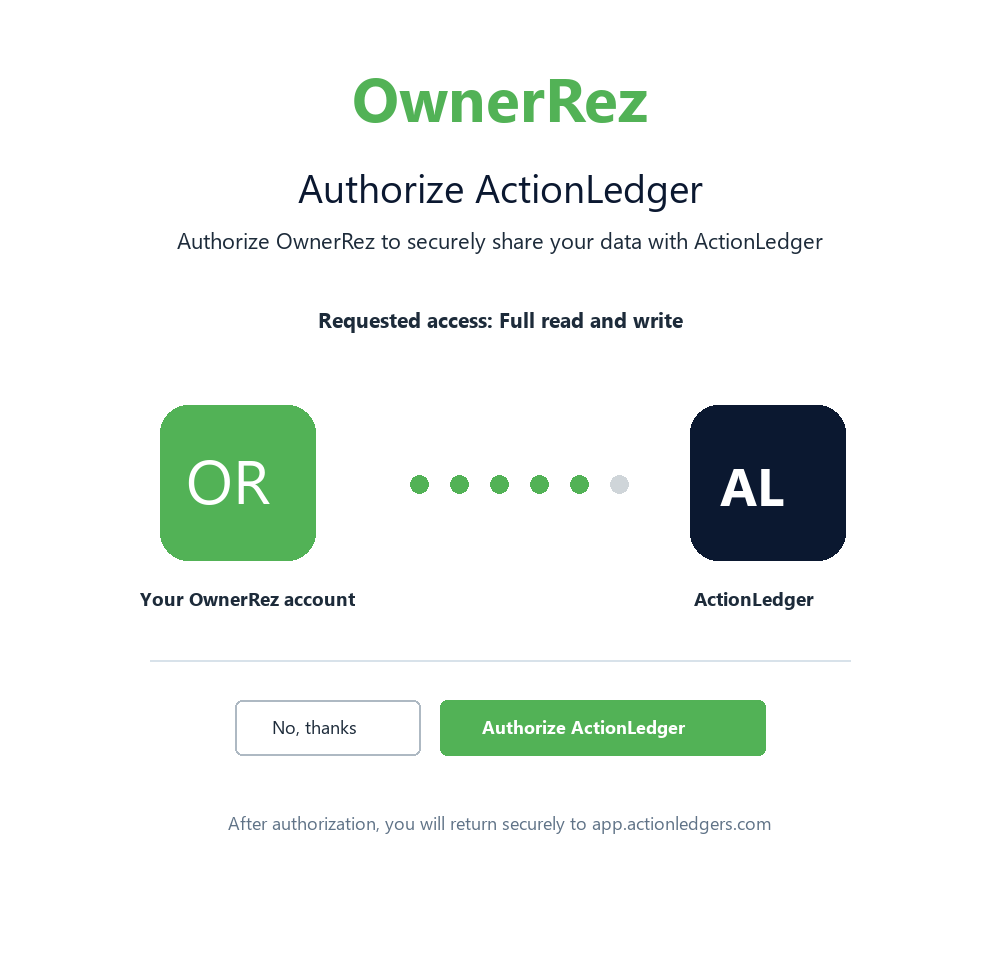
- 2Review the authorization request and confirm the application is ActionLedger or Action Ledgers.
- 3Approve the requested access. OwnerRez returns you to Action Ledger automatically.
- 4If you cancel or close the OwnerRez page, return to registration and start the connection again.
3. Select the properties to include
- 1Wait while Action Ledger checks the connection and retrieves the properties available to the OwnerRez account.
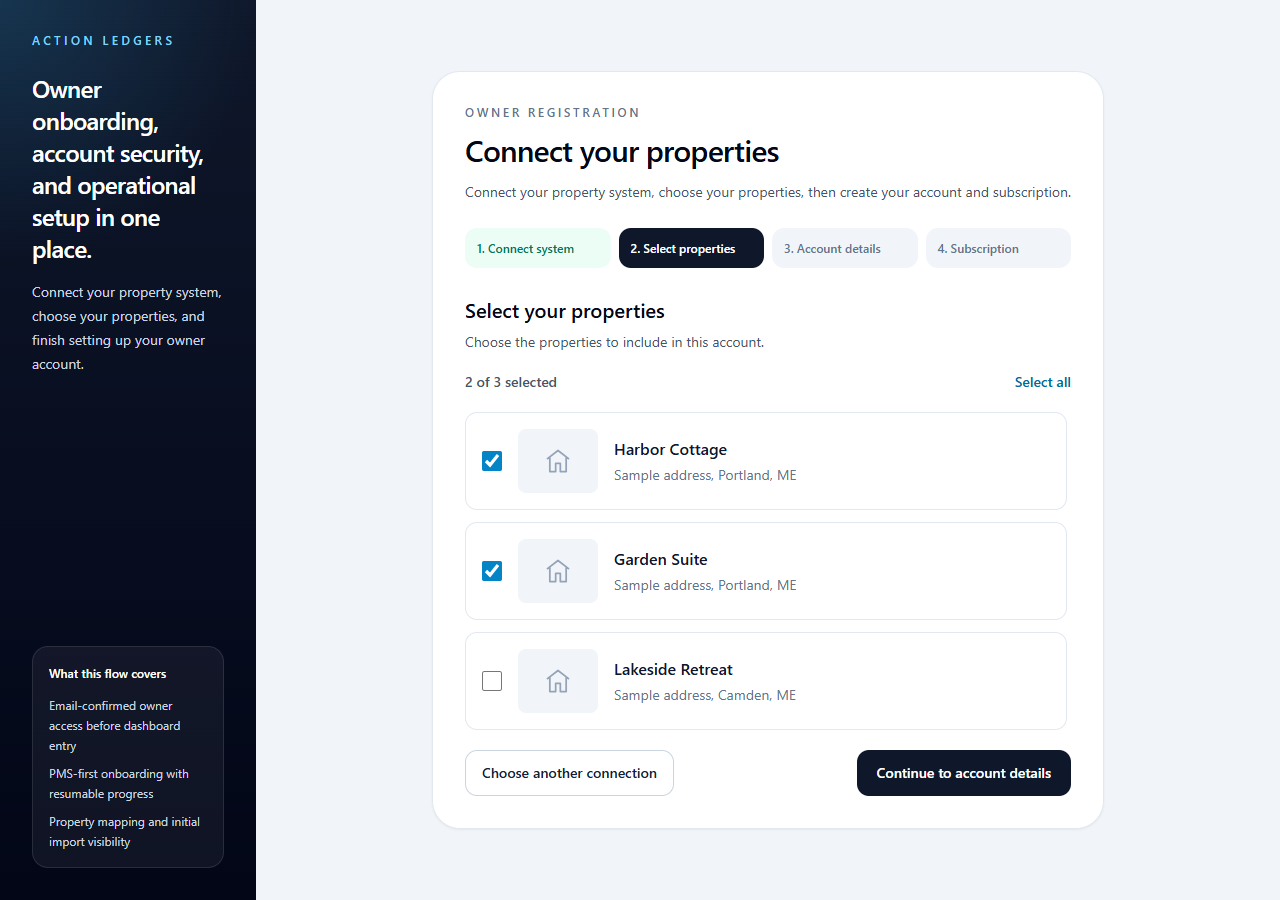
- 2On Select your properties, select each property to include. Use Select all only when every listed property belongs in this account.
- 3Review the selected count and property addresses.
- 4Select Continue to account details.
If the connection is still being authorized, select Check connection. To restart with a different provider or OwnerRez account, select Choose another connection.
4. Enter account details and subscribe
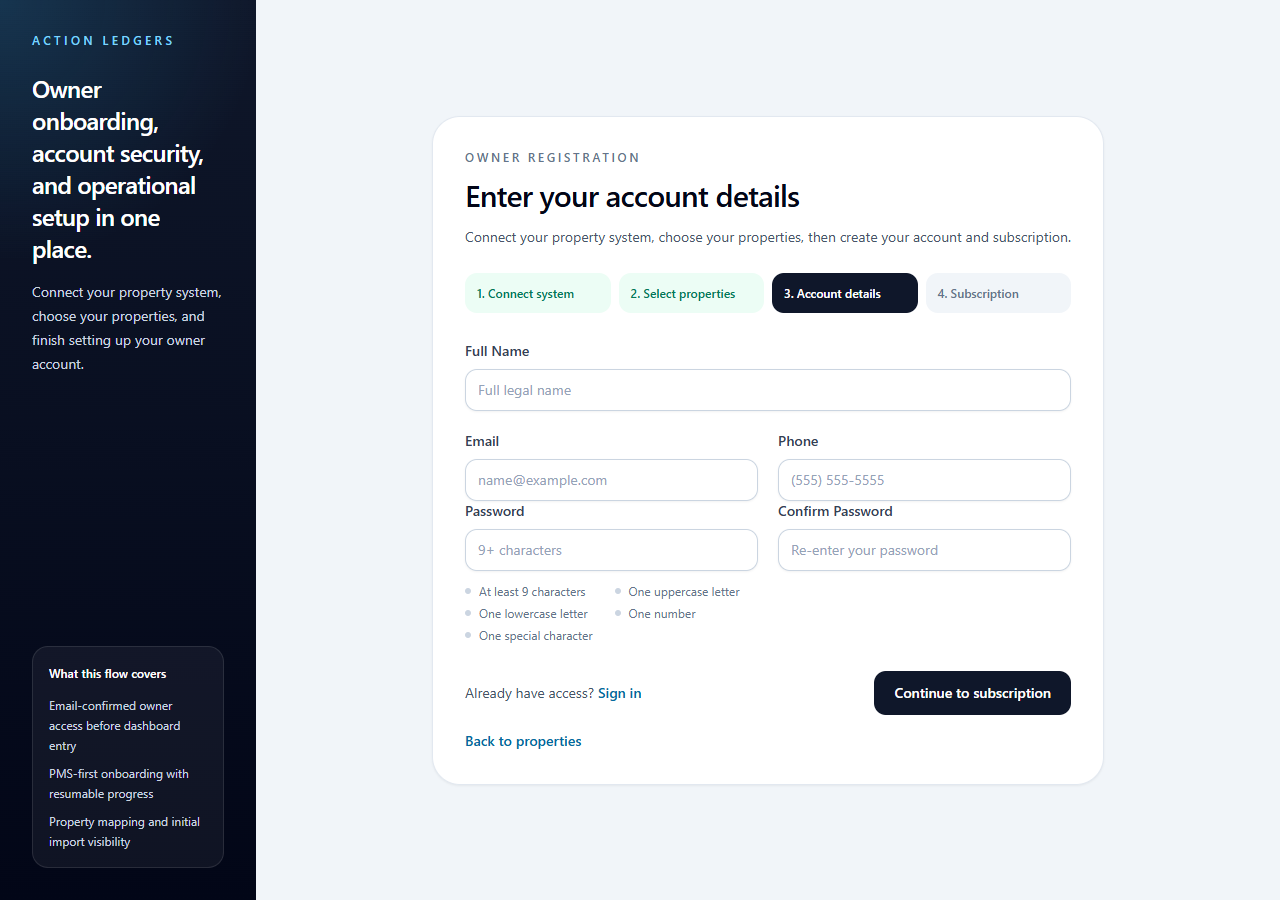
- 1Enter Full Name, Email, Phone, Password, and Confirm Password.
- 2Select Continue to subscription. Use Back to properties if you need to change the selection first.
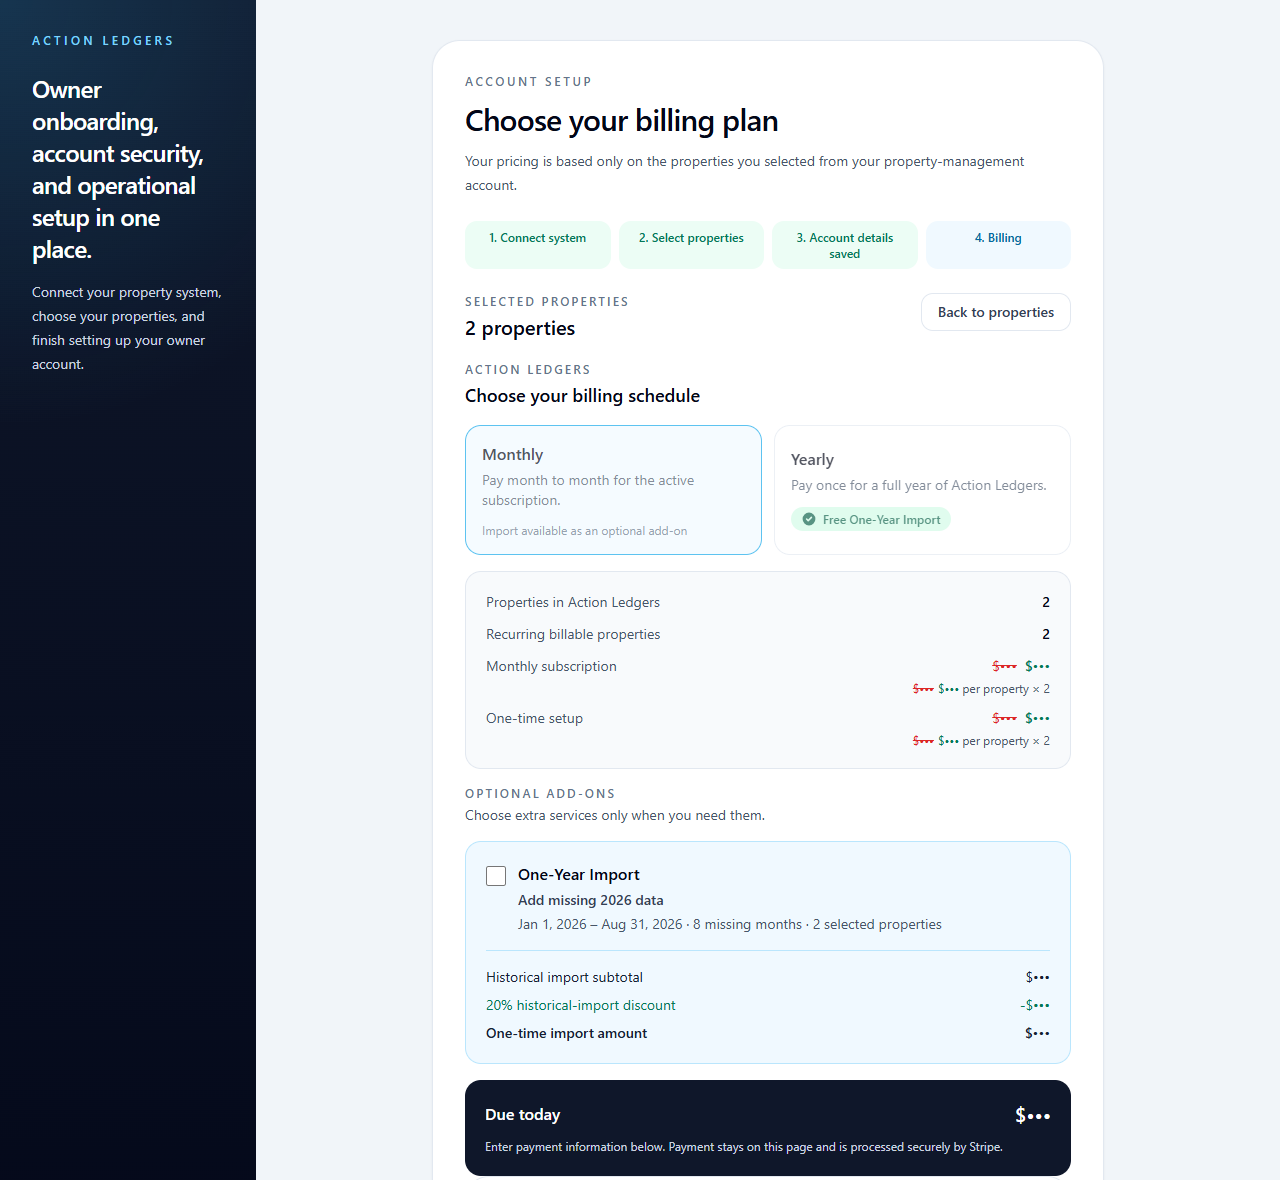
- 3On Choose your billing plan, choose monthly or yearly billing and review the property count, recurring amount, one-time setup amount, optional One-Year Import, and Due today. Yearly billing includes the import free when eligible.
- 4Enter payment information in the secure Stripe form on the page, then select Pay and complete registration. Other product add-ons use separate subscriptions after registration.
After a successful payment, Action Ledger activates the subscription and begins the initial OwnerRez synchronization. Pricing is based on the properties selected during registration.
Troubleshooting
- Connect and continue does not open OwnerRez
- Keep the registration tab open, retry once, and allow redirects or pop-ups for Action Ledger. If the message continues, contact support with the time and visible error text.
- Authorization was canceled
- Return to Action Ledger, choose OwnerRez again, and complete the hosted authorization request.
- No properties were found
- Verify that the authorizing OwnerRez user can access the properties, then use Choose another connection to restart.
- The registration session expired
- Return to the registration link and begin a new connection. Do not reuse a saved OwnerRez authorization URL.
- Payment did not complete
- Check the payment details and visible Stripe message. The account is not fully activated until payment succeeds.
Last reviewed September 26, 2026 against the current Action Ledger registration flow.